
Our development team is adding new interface features for the SlideClips online video maker and MediaBuilder graphics customizer. Here is information about the new updates.

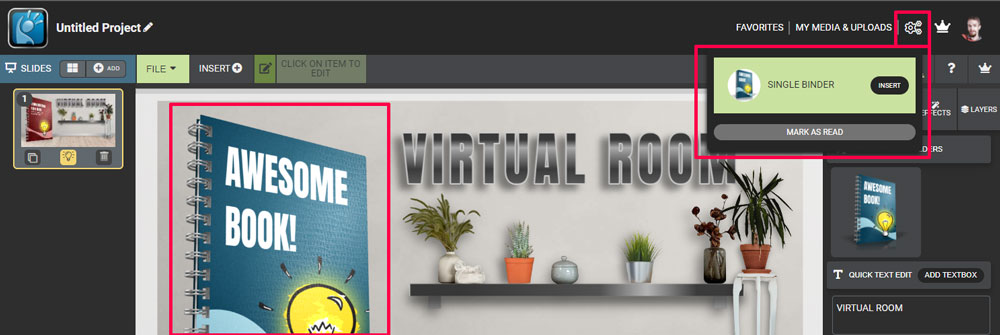
When customizing custom design graphics, you will find a new notification in the upper right corner of the screen. This gear will spin when a custom design is in the process of being completed, and a red circle with a number will appear when completed. You can click on the gear to view a list of completed items. From this drop-down, you can download or insert depending if you are in a customization app or searching on the website.
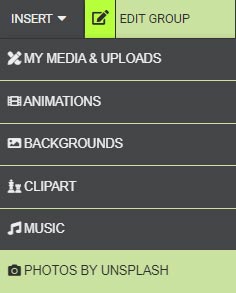
Insert options have moved to the top menu bar and are inside the INSERT drop-down menu.

If you check that out, you will notice a new category added called "Photos By Unsplash" inside the newly moved INSERT drop-down menu. Clicking this category will give you access to thousands of images all searchable and ready to add to your projects.
To open more real estate on the menu bar, you will name your project in the top left corner.

Name your project, then click File > Save.
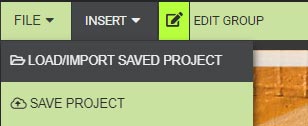
All saved projects are in MY MEDIA & UPLOADS under SLIDECLIP DRAFTS.

Once you have a SlideClips project saved, you will get an alert by your project name that says UNSAVED CHANGES any time you change anything in your work area. Click the little cloud icon to save the changes.

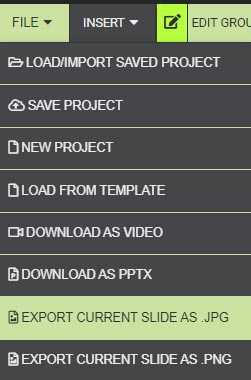
Export your current slide as a .jpeg or .png image. These options are located under FILE drop-down menu.
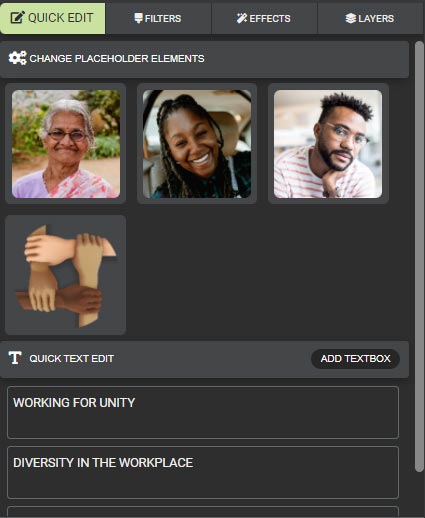
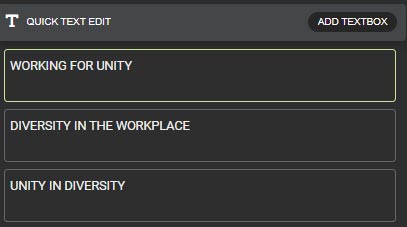
1. The Quick Text Edit has moved under this tab. You will notice an option to quickly ADD TEXTBOX from this area.
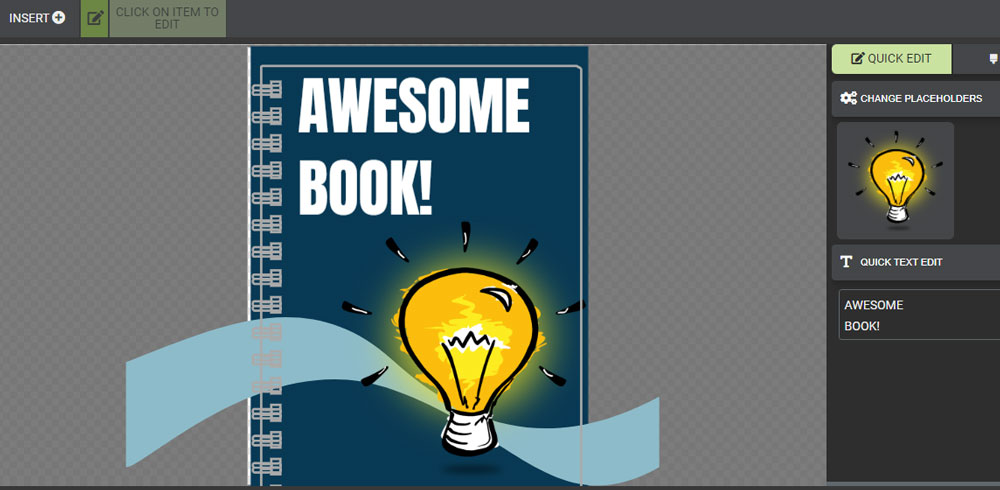
2. New Change PlaceHolder Elements ( Quickly change out images on the slide.) You will find this in both the SlideClips video maker and customizer interface.
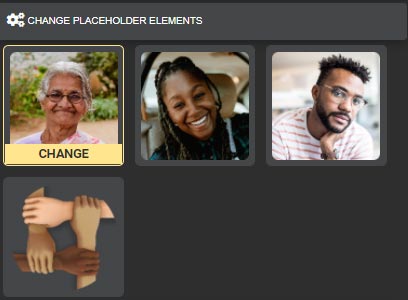
3. Customizable items are included in the new Change Placeholder Elements window. Click edit to customize and the item will update automatically with your new design.
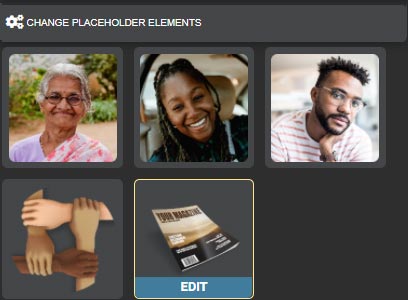
Click edit to customize a customizable graphic in the customizer app or SlideClips video maker.
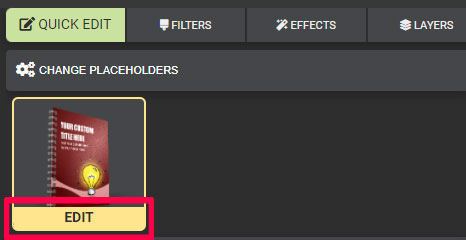
Then, edit elements in the custom graphic.
Gear will spin. Wait for process to complete.

Once the gear stops rotating, click on the gear to access the customization list.
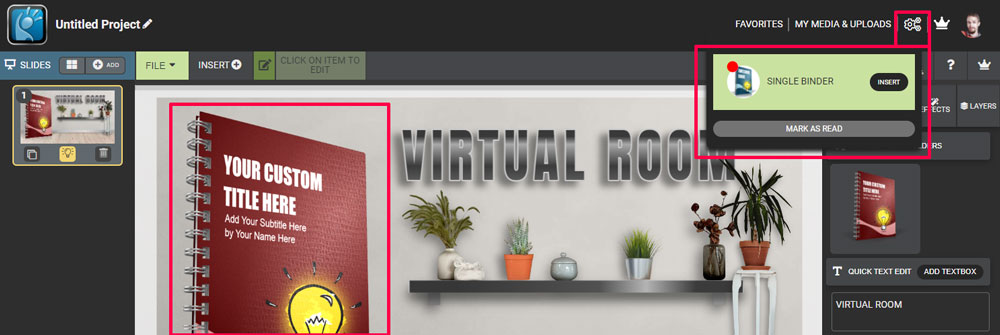
Click insert, and it will swap the newly created custom graphic with the one you customized in your projects.
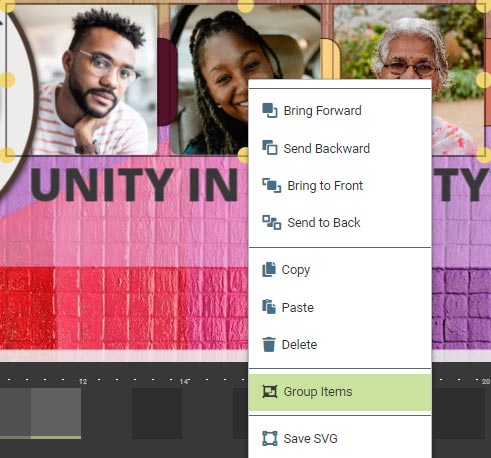
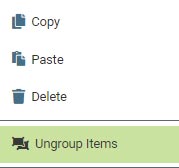
Select multiple elements and right-click on the selection to GROUP the elements together.
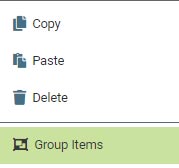
If elements are grouped together, right-click to Ungroup,
© 2009-2021 Eclipse Digital Imaging, Inc.
Quality PowerPoint Templates, Animations, videos, and 3D Clipart.
PowerPoint® is a registered trademark
of Microsoft Corporation.
Blog Comments (Sign In to Comment):