
Customizer Interface Updates - Febuary 2023
The Insert Menu Has Moved!
First, the insert menu moved from the drop-down in the top menu bar to a side menu bar on the left side of the interface. This menu bar contains the same options as the drop-down menu but is displayed as icons and opens into trays when selected. 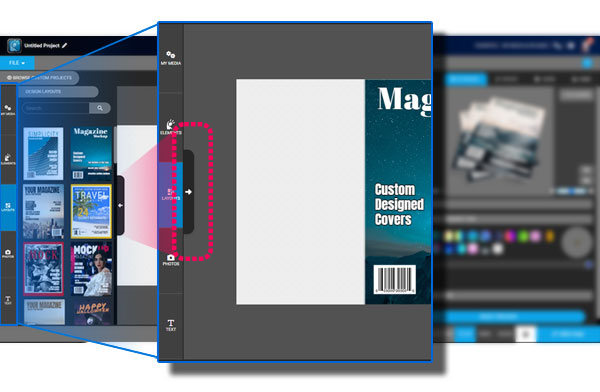
New Insert Menu Trays
The trays in the insert menu are design Layouts, text blocks, photos, backgrounds, clipart, and icons. Additional panels like videos and animations are inside the online video maker. Each menu has an infinite scroll, so scroll down to view more items. Or, use the search function to find a thing.

What Options will You Find in this Menu Bar?
My Media - In this tray, you will find customized graphics and items you've uploaded to insert into your custom project.
Elements - This tray contains clipart, icons, shapes, and image frames to insert into your custom project.
Layouts - This tray provides all ready-made layout designs compatible with the custom project you are editing.
Photos - This tray lets you search a vast library of pictures and backgrounds to add to your project.
Text - In this tray, you will find simple text boxes to add and more intricate text block designs
Music - In this tray, you can select from the audio track library to insert into your video project. *Only available in the SlideClip video maker.
Video - This tray lets you search a collection of videos you can insert into your video project. *Only available in the SlideClip video maker.
New Drag and Drop Technology
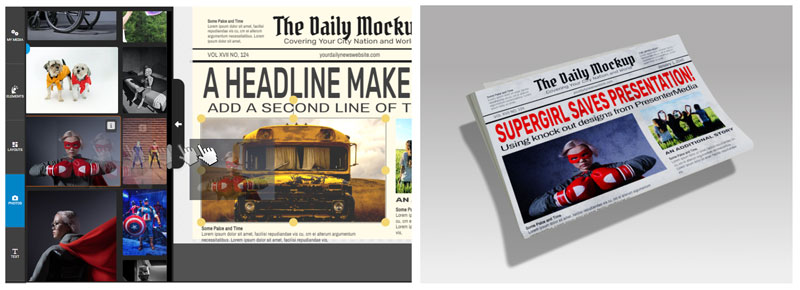
Now easy replace images by dragging the item from the options tray and releasing it onto another image placeholder.
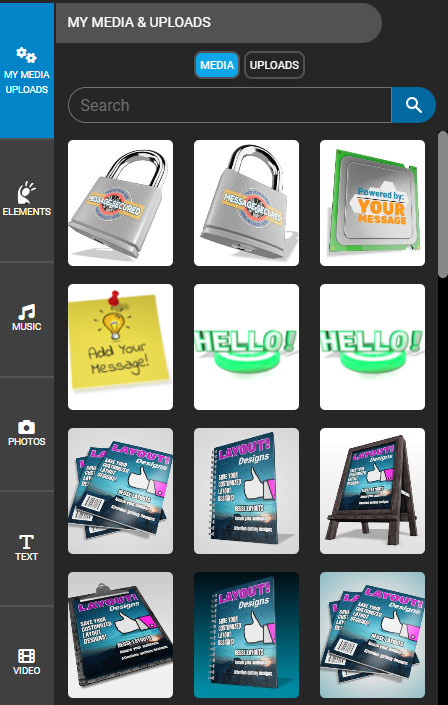
My Media and Uploads Looks Different
My Media & Uploads moved into the left menu bar. We did this move to implement the new Wdrag and drop technology to replace images easily.
If you need access to the full options, please use the My Media & Uploads like in the top right of the website.

You can delete customized items and uploads from the My Media & Uploda main window.

Image Filters Found a New Home
The images filters tab in the rightside interface menu is now located inside the effects tab
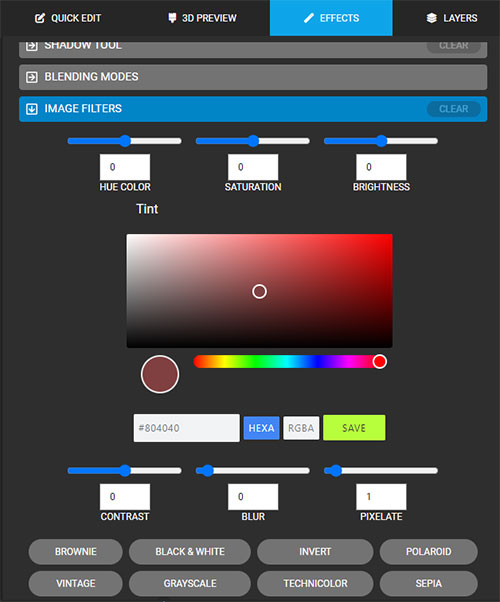
When you select and image, you will find a filters button in the top menu bar above the design to open the filter options.

Controls for the Design Area
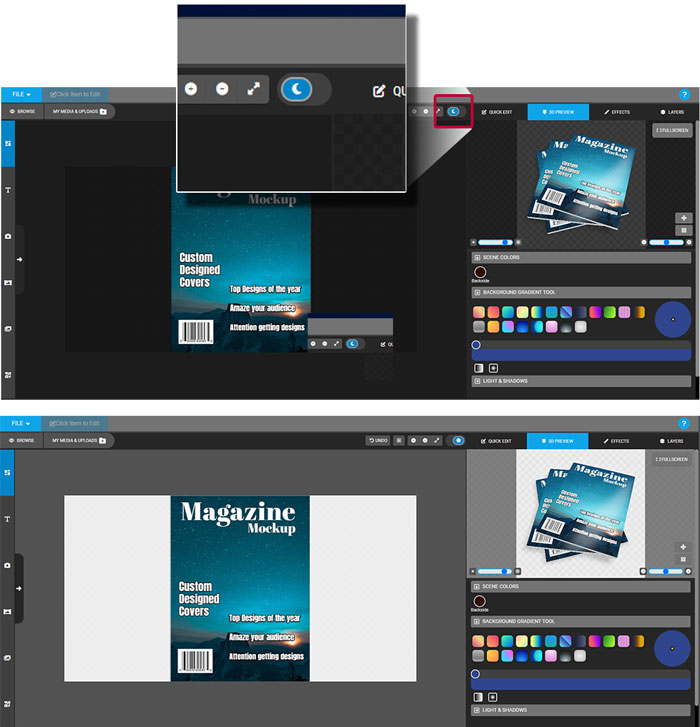
If you have not noticed, a set of controls sit in the upper right-hand corner of the design canvas area. These controls moved to this location for better accessibility. Here you find the undo button, a grid option, zoom & fit, and a dark/light mode.

Tips for the controls:
- Hold the Alt button on your keyboard when zoomed in to move around in the design area.
- When the grid is turned on, hold the shift keyboard button to snap to the grid.
- Use the dark/light mode if you have trouble reading light or dark text in the design area.
Edit Group Button Relocated
When a group is selected, the edit group button is now located next to the controls.
What is a group? A group is multiple elements put into one container called a group. You can edit the items in a group by clicking on the Edit Group Button.

Quick Text Edit
The boxes in the quick text edit are now resizable using the control in the bottom right part of the box.
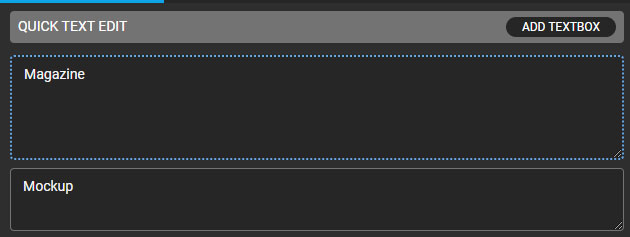
Tips: If you want to move the text to the line below, hold down shift on your keyboard and press enter. Also, hold SHIFT and press ENTER on your keyboard to get a second line of text in the textbo
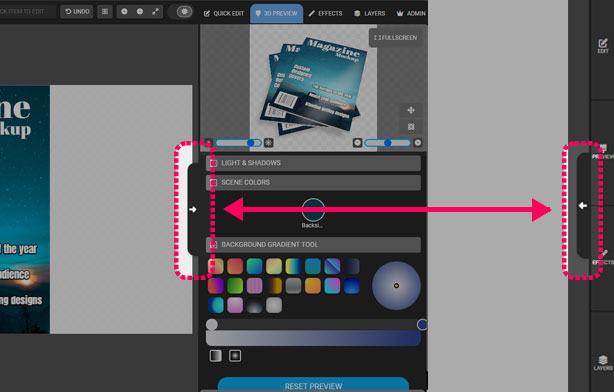
Collapsable Right-Side Menu
You can now collapse the menu on the right side of the interface if you want less on the screen when not using it.
3D Interactive Graphics Maker - Update
A brightness slider is now in the bottom left of the interactive window. This will boost or reduce the overall brightness of the 3D element.






Blog Comments (Sign In to Comment):