

How to Crop Pictures in PowerPoint
Updated on October 14, 2025
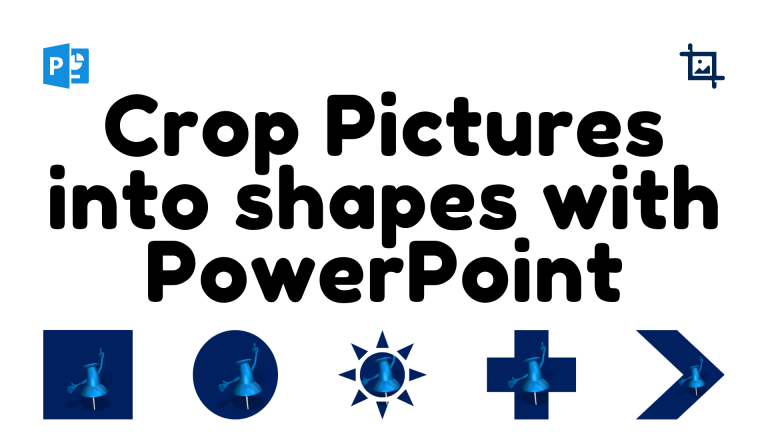
PowerPoint isn’t just for slideshows anymore — it’s also a surprisingly capable image editor. One of its most creative built-in tools is the ability to crop pictures into custom shapes such as circles, triangles, or arrows. This method helps you transform a simple photo into a professional, stylized graphic in just a few clicks. In this complete 2025 guide, we’ll show you exactly how to crop pictures into shapes in PowerPoint, how to fine-tune the results, and why this design technique boosts your visual storytelling.
Why Crop Pictures into Shapes?
Most images appear as rectangles by default, which can feel flat or repetitive. By using PowerPoint’s Crop to Shape tool, you can instantly make your photos fit your presentation’s tone and layout. Cropping into shapes provides creative balance, reinforces visual hierarchy, and helps highlight specific content areas — perfect for educators, designers, and business professionals alike.
- Professional appeal: Circular and angled photos elevate slide design.
- Focus control: Shapes direct your audience’s eyes toward key subjects.
- Visual storytelling: Create mood, motion, or brand consistency with simple forms.
- No Photoshop required: You can do everything right inside PowerPoint.
This technique pairs beautifully with PresenterMedia’s PowerPoint templates, which include pre-cropped image placeholders. Simply replace our example image with your own, and the shape remains perfectly preserved.
Step-by-Step: How to Crop a Picture in PowerPoint
Step 1 – Insert Your Picture
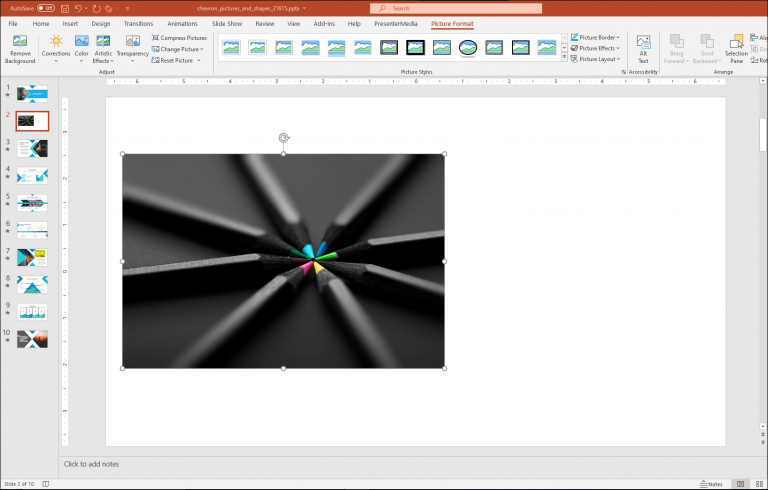
Start by inserting the photo you want to crop. In PowerPoint, go to Insert → Pictures → This Device and select your image. If you need help importing, see How to Insert a Picture into PowerPoint. After inserting, click the photo so that the Picture Format tab appears at the top ribbon.

Step 2 – Use the Crop to Shape Tool
With your image selected, click the small arrow beneath the Crop icon on the Picture Format tab and choose Crop to Shape. Hover over this option, and you’ll see a library of PowerPoint shapes — everything from circles and triangles to stars, hearts, and arrows. Pick the shape that best fits your slide design.
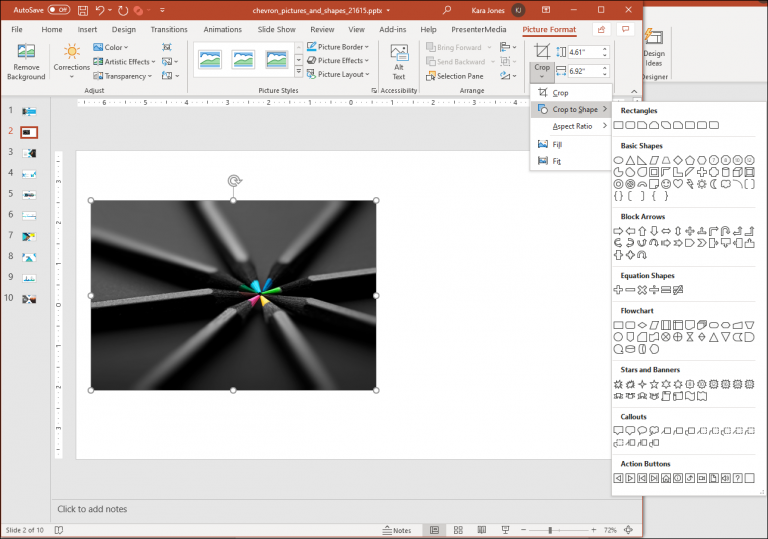
You can crop a picture to any available PowerPoint shape — including flowchart icons, callouts, and arrows — to align perfectly with your presentation’s theme.
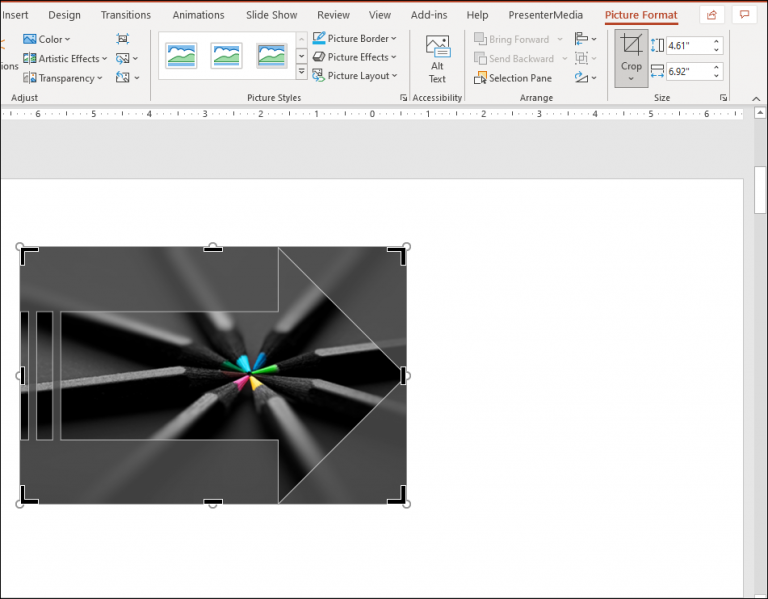
Step 3 – Adjust the Shape Crop
After selecting a shape, PowerPoint automatically fits your image into it. To reposition or resize, click the image again and select Crop. Black handles will appear around the shape — drag these to shift the picture’s visible area or zoom in for a tighter focus. This lets you fine-tune exactly which part of the image appears inside your chosen frame.

Step 4 – Apply Finishing Touches
When you’re satisfied with the crop, click outside the picture to apply your changes. You can now treat this object like any other shape: add drop shadows, color outlines, or animation effects to match your presentation’s theme. Layer multiple shape-cropped photos for a collage look or align them for a clean, grid-based layout.

Pro Tip: Try combining shape-cropped photos with transparent overlays or gradient backgrounds for a high-end look — no Photoshop needed!
Advanced PowerPoint Image Editing Ideas
Once you’ve mastered cropping pictures into shapes, explore PowerPoint’s additional tools for refining your visuals. You can add soft edges, reflections, artistic effects, or even 3D rotation to create depth. Combine these with text boxes or icons to tell a story visually. The best presentations use consistent shapes and spacing, so each image feels like part of a cohesive brand or classroom theme.
Ready to experiment? Download professionally designed PowerPoint templates from PresenterMedia. Our slides are pre-built with custom shapes, animations, and placeholders — simply insert your content to transform your ideas into polished visuals.
Once you’ve cropped your picture into a shape and customized it, you can easily save it as its own image file. This is perfect for reusing it in other projects, worksheets, or presentations.
Simply right-click the cropped image and select Save as Picture.... In the dialog box, choose a file type — such as PNG (for transparent backgrounds) or JPEG (for smaller file sizes). Then pick a folder on your computer and click Save.
PowerPoint will export only the visible cropped shape, maintaining your chosen design and any effects applied. This makes it an easy way to create custom graphics without leaving PowerPoint.
❓ Frequently Asked Questions
1. How do I crop a picture into a circle in PowerPoint?
Select your image, click Picture Format → Crop → Crop to Shape, then choose the Oval shape. To make it a perfect circle, hold Shift while resizing the shape so width and height match.
2. Can I crop multiple pictures at once?
Yes. Select multiple images by holding Ctrl (Windows) or Cmd (Mac), then apply Crop to Shape. PowerPoint will apply the same shape to all selected images for a consistent design style.
3. Does cropping to shape work in Google Slides?
Google Slides supports basic cropping and masking, but PowerPoint provides more advanced shape options and precision. If you create your shape crops in PowerPoint, they will still display correctly when opened in Slides.
4. Can I change or resize the shape later?
Absolutely. Click your cropped image, select Edit Shape → Change Shape, and pick a new one. PowerPoint preserves the crop position and lets you fine-tune sizing or alignment afterward.
5. How do I save a cropped image as a PNG or JPEG in PowerPoint?
Right-click your cropped image and select Save as Picture.... In the save dialog, choose PNG for transparent backgrounds or JPEG for standard images. PowerPoint exports just the visible cropped shape, so you can reuse it in other slides or programs easily.


Blog Comments (Sign In to Comment):